Latest Posts
Hi! This tutorial basically teaches you how to use huge beads as earrings. You might chose any kind of beads apart from the faceted ones. Images are a bit blurry, sorry!
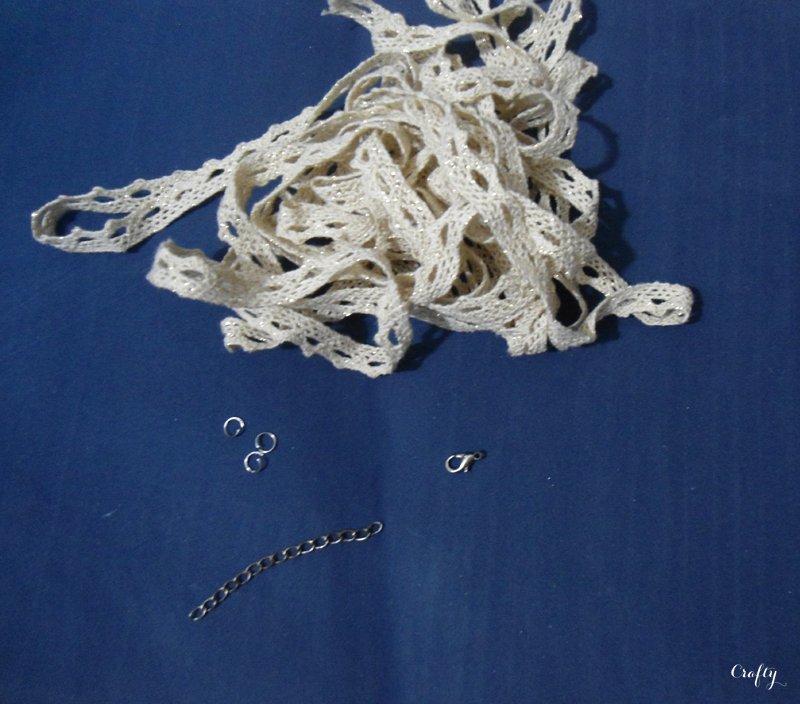

Materials:

Wire (or head pins)
Pliers
Earring hooks
Jump rings (optional)


How to make:

1. Use wire to create headpins or use pre-made ones. Cut the wire slightly larger than the bead and then loop it from the top.


2. Get at least two large beads and insert the wire into them. Bend the wire from the lower end of the bead.


3. Use jump rings or open the attaching loop of earring hooks to attach the beads and wire.


I hope this is a helpful tip to help you make great jewellery!
Hi everyone! So starting with the tutorial: This is a pretty and a simple necklace you can make within minutes. It can match with almost every casual dress in your closet!


Materials:

A wooden bead
Rope/Twine of about 2 feet
Thin wire of about 8 inches
Jumprings
Pre-made necklace chain
Extension Chain (optional)
Scissors

How to make:

1. Unwind the rope/twine and start making a basic tassel with it. (I hope you know how to make it)


2. Form a loop with wire and attach it to a jumpring.


3. Form something like this with the wire to attach the tassel to the wooden bead.


4. After you are done attaching it with the chain, you might use an extension chain to make it longer, which I prefer.


Thanks for reading and stay tuned for more! Share and comment to let me know if you like it!

Featured on: Totally Tutorials & Friendstitch
Hi everyone! This is my second tutorial today. It's an anthro inspired one.


I saw this on Anthropologie's site for $48, the price goes up to $58:
Wire Script Sculpture


My version:


Materials:

Wire
Pliers
Thread
Wire Cutter
Paper (optional)
Pencil (optional)

How to make:

1. Take some thick wire. Mine was old and was kinda tarnished, you might wanna paint your's if it's new and isn't being much visible against your wall. Start bending the wire according to what you'll want it look like. To make it easier, write something on paper (in cursive writing) first and then follow the directions of the curves and letters. I altered the spelling of 'pretty' to 'preety' just for fun :D


2. Tie both ends with a long piece of thread and hang it. Thats it! You can also you use it as a jewelry display.


It's not hammered into the wall like the original, but it does look similar. I hope you liked this tutorial. Stay tuned for more and let me know your thoughts in the comments!

Featured on: craftgawker

Hi everyone! Finally, today I got some time to publish a new post, so here it is! It's really simple, quick and easy to make. The only thing I am missing are clamps. I couldn't find them in my area. If they are available, I recommend you to use them to get best results.


Materials:


Clasp
Jump rings
Extension chain (optional)
A thin & delicate lace
Clamps (recommended)

How to make:

1. Wrap a length of lace around your wrist. Cut it accordingly.

2. Add a clasp on one end with a jump ring. Add an extension chain on the other with a jump ring. I changed my mind and used jump rings instead of a extension chain.

3. Done! I wish I had clamps :( but it's ok the rough threads won't be much visible. It's thin so I'll layer it while wearing.

Layer it with other bangles and bracelets. I hope you liked it. Let me know your thoughts in the comments. Thank you for reading and may you have a nice day :)

P.S: The images from now on will be in lower resolution than before. It took me a lot of time to upload so I did this.
Hi everyone! Today I'll be posting an Anthro-inspired DIY tutorial, which are common during these days...


Yesterday day I visited Anthropologie's site and I saw this for $48:

Hedda Tassel Necklace by MADE
It seem to be so simple and easy to make so I gave a try. It's primarily made of leather, but I didn't had leather at home so I opted for another fabric.

Materials:

Fabric (I chose cotton)
Saffron colored thread or golden colored wire
Gold Chain
A paint brush or something else for supporting the tassel
Scissors

How to make:

1. Roll up some fabric. Fold it in half and tie to a paintbrush or something else with the thread or the wire.

2. Cut the excess and cut fringes in the roll. Neatly cut the rough and raw threads.

3. I prefer to make it look a little rough so I did not cut off all the threads. There you go, it's ready!


I did this just for fun, It could have looked more fine if I made it seriously :D Well it is at least fine to be worn, because the threads aren't visible from far away... It will look better if leather is used. Let me know your thoughts in the comments and stay tuned for more!
Hi everyone! Today Ms. Khadija gave me some blogging tips and now I am gonna imply as much of it as I can on this post. This is one of the most easiest projects which will take less than 5 minutes to make. The best thing is that it's 2-in-1 piece of jewelry so you can wear it as a bracelet or a pendant chain. It's chic, cool and hipster to.


Materials

Chain of desired color (I chose grey) and of desired size
Jump rings
Clasp (I chose bronze colored)
Extension chain matching the clasp's color
Pliers (optional)


How to make:

1. Attach jump rings to the of the ends of the chain.

2. Attach an extension chain and a clasp using the attached jump rings on the ends.


4. Now wrap it up and wear it like a bracelet,


5. Or wear your favourite pendants!


This is one of the most easiest projects I've ever came up with. This could be somehow a valentine's day special project because it's a coincidence that I am posting it on this day. Happy Valentines Day to those who celebrate it (atleast I don't :D). Let me know your thoughts in the comments and stay tuned for more crafts!


Hi everyone! The blog makeover is finally done and so I am going to post something new. My exams are starting this week so expect me to disappear for sometime ;)


Materials needed:

Wire (20 gauge is always recommended for crafts)
Spray Paint of your choice (I chose silver)
Pliers (narrow nose)
Hammer
Newspaper or any other scrap material
A stone or wooden base for hammering
Jump rings
Chain


How to make:

1. First think about an easy shape you'd like to own as a pendant. Draw it if you are finding it hard to bend the wire directly with the pliers.

2. Now according to your design, choose the parts you'd like to flatten. For example, I flattened the point of the star pendant. Hammer the wire to flatten it. Be careful.

3. Once you are done with bending and hammering, lay down a sheet of newspaper and place your pendants on it. Now spray paint them in your selected color.

4. Now attach a jump ring to a suitable location on the pendant and attach it to your chain. It's ready to wear!

I made 4 pendants. One is my initial (A), one is my sister's initial (U), a five pointed star and an infinity one.


Bye and thanks for reading! Let me know your thoughts in the comments and stay tuned for more!