Latest Posts
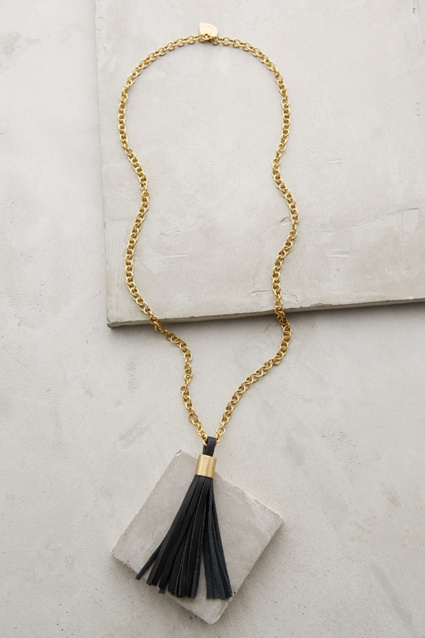
Hi everyone! So starting with the tutorial: This is a pretty and a simple necklace you can make within minutes. It can match with almost every casual dress in your closet!


Materials:

A wooden bead
Rope/Twine of about 2 feet
Thin wire of about 8 inches
Jumprings
Pre-made necklace chain
Extension Chain (optional)
Scissors

How to make:

1. Unwind the rope/twine and start making a basic tassel with it. (I hope you know how to make it)


2. Form a loop with wire and attach it to a jumpring.


3. Form something like this with the wire to attach the tassel to the wooden bead.


4. After you are done attaching it with the chain, you might use an extension chain to make it longer, which I prefer.


Thanks for reading and stay tuned for more! Share and comment to let me know if you like it!

Featured on: Totally Tutorials & Friendstitch
Hi everyone! Today I'll be posting an Anthro-inspired DIY tutorial, which are common during these days...


Yesterday day I visited Anthropologie's site and I saw this for $48:

Hedda Tassel Necklace by MADE
It seem to be so simple and easy to make so I gave a try. It's primarily made of leather, but I didn't had leather at home so I opted for another fabric.

Materials:

Fabric (I chose cotton)
Saffron colored thread or golden colored wire
Gold Chain
A paint brush or something else for supporting the tassel
Scissors

How to make:

1. Roll up some fabric. Fold it in half and tie to a paintbrush or something else with the thread or the wire.

2. Cut the excess and cut fringes in the roll. Neatly cut the rough and raw threads.

3. I prefer to make it look a little rough so I did not cut off all the threads. There you go, it's ready!


I did this just for fun, It could have looked more fine if I made it seriously :D Well it is at least fine to be worn, because the threads aren't visible from far away... It will look better if leather is used. Let me know your thoughts in the comments and stay tuned for more!
Hi everyone! Today Ms. Khadija gave me some blogging tips and now I am gonna imply as much of it as I can on this post. This is one of the most easiest projects which will take less than 5 minutes to make. The best thing is that it's 2-in-1 piece of jewelry so you can wear it as a bracelet or a pendant chain. It's chic, cool and hipster to.


Materials

Chain of desired color (I chose grey) and of desired size
Jump rings
Clasp (I chose bronze colored)
Extension chain matching the clasp's color
Pliers (optional)


How to make:

1. Attach jump rings to the of the ends of the chain.

2. Attach an extension chain and a clasp using the attached jump rings on the ends.


4. Now wrap it up and wear it like a bracelet,


5. Or wear your favourite pendants!


This is one of the most easiest projects I've ever came up with. This could be somehow a valentine's day special project because it's a coincidence that I am posting it on this day. Happy Valentines Day to those who celebrate it (atleast I don't :D). Let me know your thoughts in the comments and stay tuned for more crafts!


Hi everyone! The blog makeover is finally done and so I am going to post something new. My exams are starting this week so expect me to disappear for sometime ;)


Materials needed:

Wire (20 gauge is always recommended for crafts)
Spray Paint of your choice (I chose silver)
Pliers (narrow nose)
Hammer
Newspaper or any other scrap material
A stone or wooden base for hammering
Jump rings
Chain


How to make:

1. First think about an easy shape you'd like to own as a pendant. Draw it if you are finding it hard to bend the wire directly with the pliers.

2. Now according to your design, choose the parts you'd like to flatten. For example, I flattened the point of the star pendant. Hammer the wire to flatten it. Be careful.

3. Once you are done with bending and hammering, lay down a sheet of newspaper and place your pendants on it. Now spray paint them in your selected color.

4. Now attach a jump ring to a suitable location on the pendant and attach it to your chain. It's ready to wear!

I made 4 pendants. One is my initial (A), one is my sister's initial (U), a five pointed star and an infinity one.


Bye and thanks for reading! Let me know your thoughts in the comments and stay tuned for more!