Latest Posts
Hi! This is not a picture tutorial but I have written the instructions down.


Materials:

Pom poms (I had 12)
Thread
Needle
Wooden dowel
Tape (optional)


How to make:

1. Take five pieces of thread and trim it in the way as done in the picture above.

2. Use a needle to pass the thread through the pom poms. 2 on the first and last thread, 2 (3 prefered) on the second and the second last thread and 4 on the middle one.

3. Tape or tie the pieces in the way shown in the picture above.

I hope this wall art makes a cute addition to your room!
Hi everyone! This is my second tutorial today. It's an anthro inspired one.


I saw this on Anthropologie's site for $48, the price goes up to $58:
Wire Script Sculpture


My version:


Materials:

Wire
Pliers
Thread
Wire Cutter
Paper (optional)
Pencil (optional)

How to make:

1. Take some thick wire. Mine was old and was kinda tarnished, you might wanna paint your's if it's new and isn't being much visible against your wall. Start bending the wire according to what you'll want it look like. To make it easier, write something on paper (in cursive writing) first and then follow the directions of the curves and letters. I altered the spelling of 'pretty' to 'preety' just for fun :D


2. Tie both ends with a long piece of thread and hang it. Thats it! You can also you use it as a jewelry display.


It's not hammered into the wall like the original, but it does look similar. I hope you liked this tutorial. Stay tuned for more and let me know your thoughts in the comments!

Featured on: craftgawker

Hi everyone! Today I had to make something simple for my school's art project. I saw this anthro inspired organizer on Pinterest.

And this is my version (not completed):

Materials:

2 or more different sized Pringles cans or similar containers
Gold spray paint or any other colored spray paint
Cardboard
Clear glue
Foamic sheet
Lace, Masking tape, paper etc. for covering the edges

How to make:

1. Prepare your items: containers & cardboard. Spray paint them in gold or any other color.


2. Glue pieces fomic sheet on the bottom, to fill the empty space between the containers and the base. Glue the edges and then stick it to the cardboard. For more sturdiness, glue around the edges.


3. It's almost done! Glue some paper, masking tape or paper to cover the rough edges and spray paint. (not pictured)


I hope you liked it. It was smaller than the original. Let me know your thoughts in the comments and thank you for reading!


Hi everybody! This is my first picture tutorial. If you want your walls to look cute, then make this cute DIY Wall Art!


Materials:


1 Pink fomic sheet, 1 White fomic sheet and 1 Green or any other colored fomic sheet. Prefer black if you don't want to use black permanent marker.
1 Compass (drafting) or any circular object with desired diameter.
1 Black Permanent Marker (if you are not using a black fomic sheet)
A Pencil.
Scissors.
Mounting tape (not pictured)
Clear glue (not pictured)

How to make:

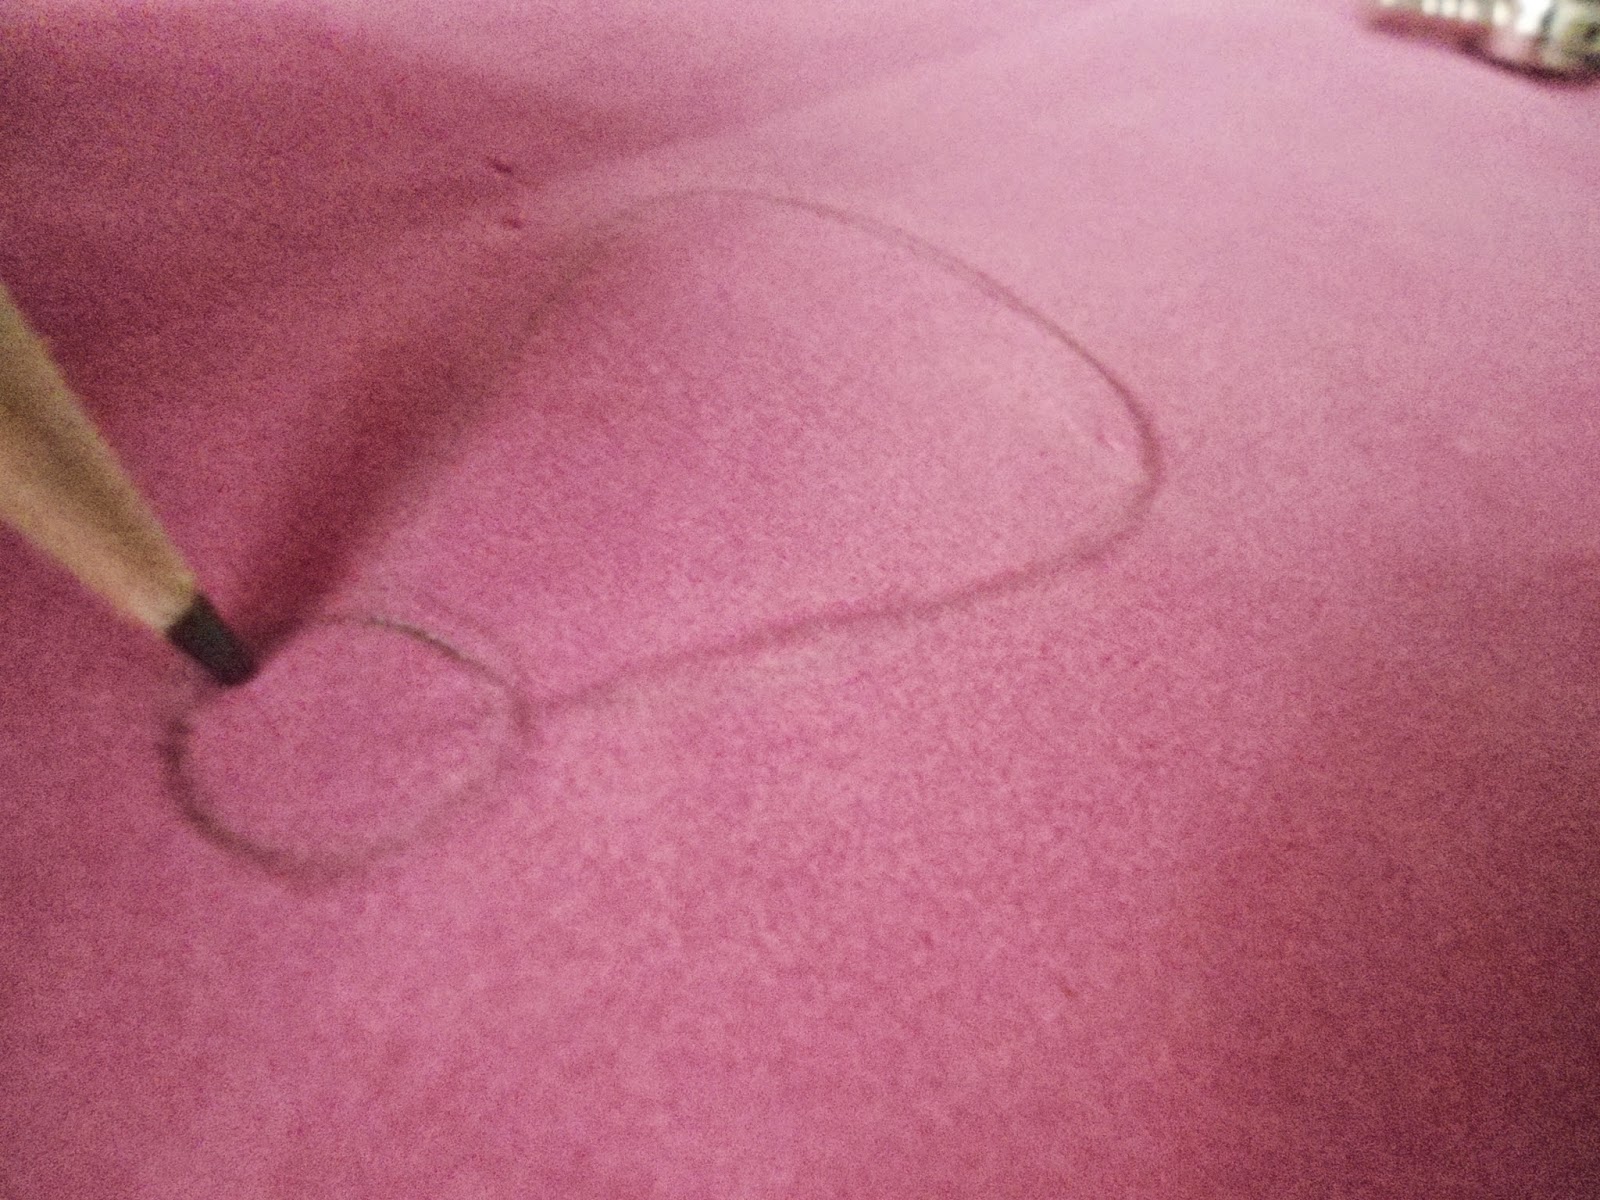
1. Draw 2 circles using a compass or a circular object of desired diameter on the green fomic sheet. Just keep that in mind that the size should be big enough that it could be seen from far away.

2. Cut the circles out.

3. Now color them black using the black permanent marker. Skip this step if you are using a black fomic sheet.

4. Now draw the smile. Cut it out. Color it black as well.

5. Now draw two smaller circles on the white fomic sheet. Cut these out.

6. Now use clear glue to stick the white circles on the black ones. Stick each on the upper left side of the black circle.

7. Now draw the bow on the pink fomic sheet and cut it out.

8. Now cut place small pieces of mounting tape. Place them in the following manner:

9. Now paste all the pieces on the wall and voila it's done.


I hope you liked this tutorial. Stay tuned for more!


Hi everybody! Today I am posting a tutorial. It is not a picture tutorial. I'll be posting picture tutorials after sometime.

Scallop Wall Art


Materials:

2 or 3 paper sheets for each color (7 colors).
A Compass (drafting) or any circular object with a diameter of  about 2.5 inches.
 A base. I used a carton piece which measured 27x11.5 inches. 
 Scissors.
A Pencil.
Glue. I used clear glue.
Mounting Tape.

How to make:

1. Use a compass or any circular object to draw circles with the following diameter. Draw maximum number of circles on every sheet. 

2. Cut the circles out.

3. Start pasting the circles on the lower edge of the base. Make sure that only half of the circle is pasted on   the base. The other half should come over the edge. You can also cut it away.

4. Form a pattern by overlapping the circles as shown:


5. Keep pasting the circles in the pattern until you cover the whole base.

6. Use mounting tape to paste it on the wall.

7. It's done! You can choose your own color scheme as well because this one is girly.

I hope you liked my tutorial. Because I am a new blogger, I posted this tutorial without step by step pictures. After sometime I'll be posting more interesting tutorials with pictures.

Update: This is what it looks like with all the those circles tucked behind.


Stay tuned for more!