Latest Posts
Hi! From some months I am finding my laptop boring. It's new but plain black in color with somewhat a snake skin texture. I got it last year. So today nobody was at home, so I thought to do something. Then I got the same idea for my laptop which I got for my phone. Washi tape isn't available in my area so this the easiest way for me to decorate my laptop. My camera's battery was dead at the moment so pictures aren't good at all. All of them are taken with my iPad and you know the camera is just... Let's just start.


Materials:


Laptop
Masking Tape
Permanent marker (I used black)
Pencil (Optional)
Scissors
Top coat transparent nail polish or sealer spray

How to make:

1. Cut the tape according to the vertical length of your laptop.

2. Paste it and check it if it's ok. Trim the excess.


3. Take it off and paste it on a smooth flat surface. Start drawing your pattern with permanent marker. I drew an irregular zig zag pattern, somewhat chevron. Use a pencil if you are unsure.


4. Coat it with the clear nail polish or the spray. Spray is better because nail polish might cause the marker ink to bleed (happened with me).


5. Paste the tape on your laptop and that's it. Remember to take it off after some period of time (e.g. after a month) because it may start to look dirty.


I made another design using the spray-paint lace technique. It takes time but the results are just awesome. These pictures were, finally, taken with my camera.


If more tape is used, this method could be used to make a laptop skin to. Thanks for reading and if you like it, please let me know in the comments.

Featured on: BuzzFeed


Hi everyone! The blog makeover is finally done and so I am going to post something new. My exams are starting this week so expect me to disappear for sometime ;)


Materials needed:

Wire (20 gauge is always recommended for crafts)
Spray Paint of your choice (I chose silver)
Pliers (narrow nose)
Hammer
Newspaper or any other scrap material
A stone or wooden base for hammering
Jump rings
Chain


How to make:

1. First think about an easy shape you'd like to own as a pendant. Draw it if you are finding it hard to bend the wire directly with the pliers.

2. Now according to your design, choose the parts you'd like to flatten. For example, I flattened the point of the star pendant. Hammer the wire to flatten it. Be careful.

3. Once you are done with bending and hammering, lay down a sheet of newspaper and place your pendants on it. Now spray paint them in your selected color.

4. Now attach a jump ring to a suitable location on the pendant and attach it to your chain. It's ready to wear!

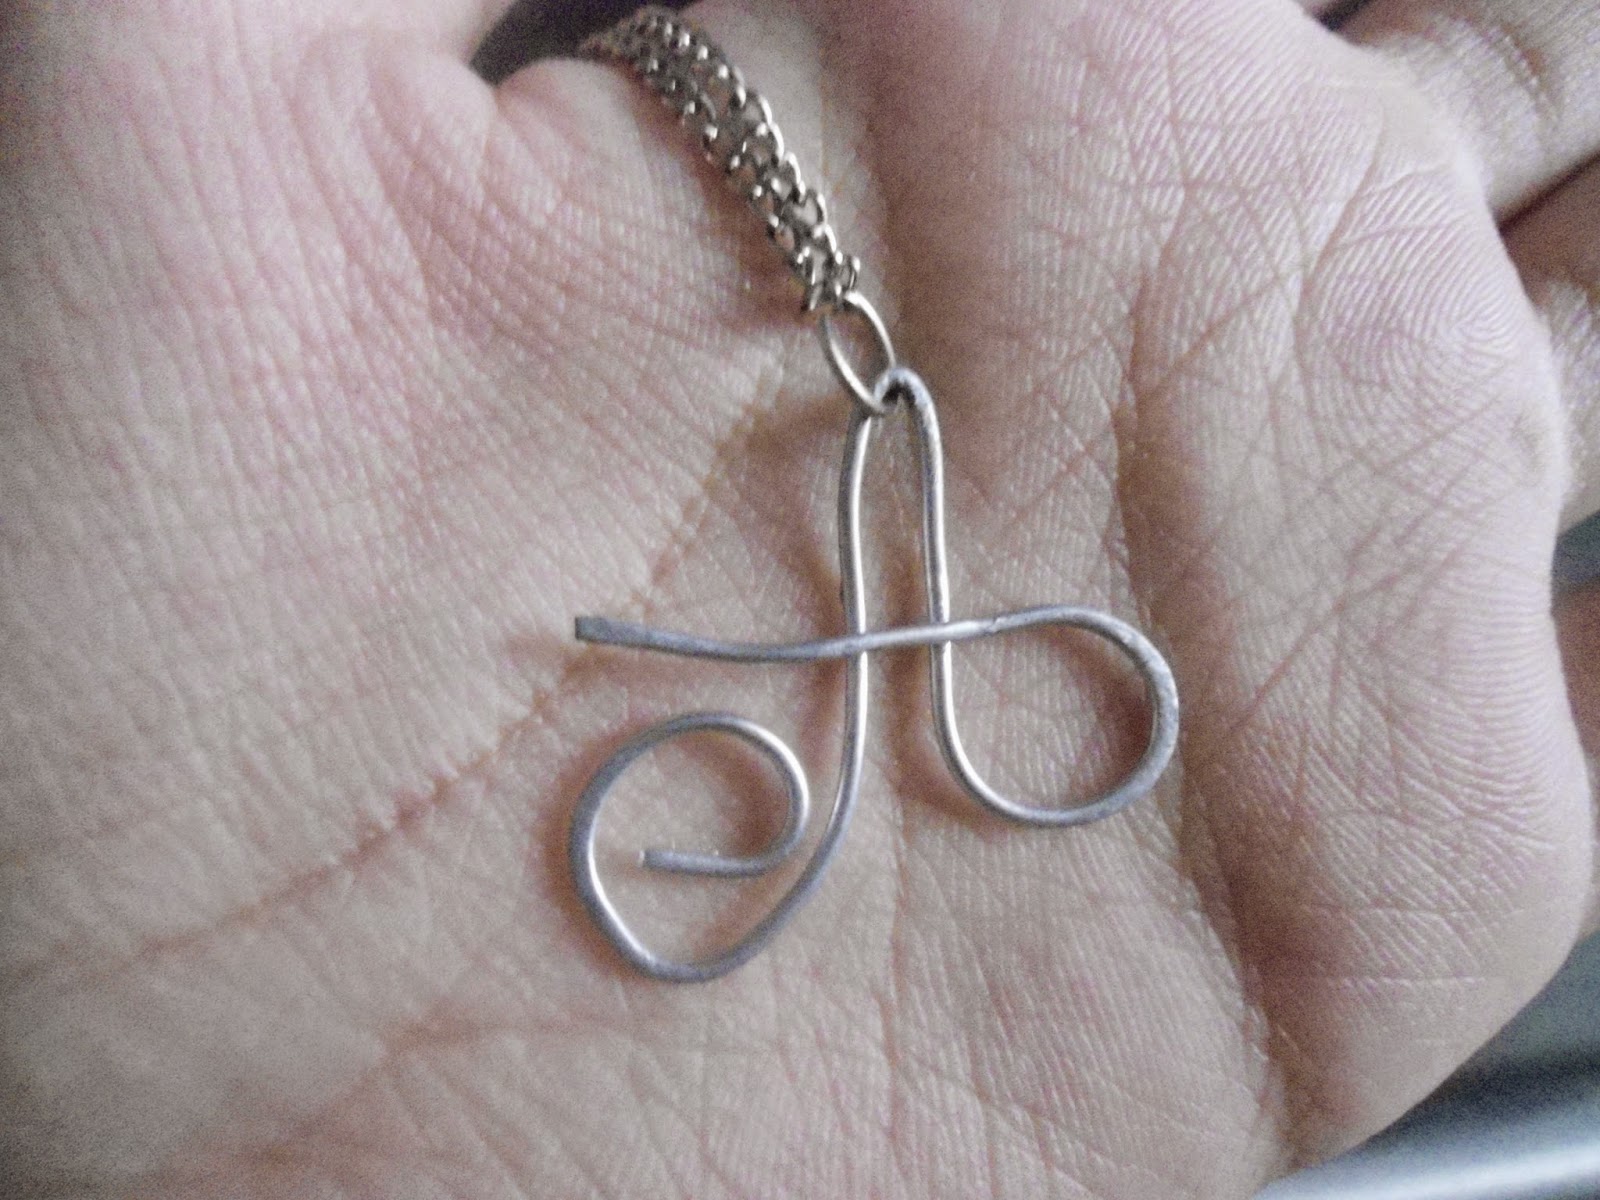
I made 4 pendants. One is my initial (A), one is my sister's initial (U), a five pointed star and an infinity one.


Bye and thanks for reading! Let me know your thoughts in the comments and stay tuned for more!


Hi everyone after a long time! Today I am finally posting a tutorial about something I made long ago, so there are very few pictures of it. Long ago, I was really wanting to replace my boring solid black case with something trendy. I searched the web and found numerous tutorials. All of them either consisted of a clear case (which I didn't had) in order to change the designs constantly or either an opaque case for a permanent design. I wanted something in which I could use an opaque case for changing the designs whenever I wanted. So this idea came into my mind.

Materials:

Permanent Markers
Masking Tape
A Case (a hard shell is better)
A Phone
Clear top-coat nail polish or a clear sealer spray

How to make:

1. Cover the whole case with a single layer of masking tape. The number of strips will alter according to the wideness of the tape. Try not to overlap, it'll not look nice. If you have an iPhone 4 or later you can just cover the plain smooth back, it's not necessary to cover the sides. Fold and stick the excess tape on the inside. Cut some the excess tape if it's too much.

2. Poke a sharp object in the camera hole with tape on it and carefully fold the torn tape in the inside of the hole. Doodle any pattern on the masking tape with your marker.

3. Paint a layer of the clear nail polish top-coat or spray the clear sealer.


4. Snap the case on your phone and it's ready to go!


The best thing about it is that I can peel the tape off whenever I want and it never leaves behind any residue on the case. If peeled off carefully, the tape can be re-used to! It was unexpectedly chic-looking! Stay tuned for more!

Featured on: BuzzFeed & DIY Crafts


Hi everybody! This is my first picture tutorial. If you want your walls to look cute, then make this cute DIY Wall Art!


Materials:


1 Pink fomic sheet, 1 White fomic sheet and 1 Green or any other colored fomic sheet. Prefer black if you don't want to use black permanent marker.
1 Compass (drafting) or any circular object with desired diameter.
1 Black Permanent Marker (if you are not using a black fomic sheet)
A Pencil.
Scissors.
Mounting tape (not pictured)
Clear glue (not pictured)

How to make:

1. Draw 2 circles using a compass or a circular object of desired diameter on the green fomic sheet. Just keep that in mind that the size should be big enough that it could be seen from far away.

2. Cut the circles out.

3. Now color them black using the black permanent marker. Skip this step if you are using a black fomic sheet.

4. Now draw the smile. Cut it out. Color it black as well.

5. Now draw two smaller circles on the white fomic sheet. Cut these out.

6. Now use clear glue to stick the white circles on the black ones. Stick each on the upper left side of the black circle.

7. Now draw the bow on the pink fomic sheet and cut it out.

8. Now cut place small pieces of mounting tape. Place them in the following manner:

9. Now paste all the pieces on the wall and voila it's done.


I hope you liked this tutorial. Stay tuned for more!


Hi everybody! Today I am posting a tutorial. It is not a picture tutorial. I'll be posting picture tutorials after sometime.

Scallop Wall Art


Materials:

2 or 3 paper sheets for each color (7 colors).
A Compass (drafting) or any circular object with a diameter of  about 2.5 inches.
 A base. I used a carton piece which measured 27x11.5 inches. 
 Scissors.
A Pencil.
Glue. I used clear glue.
Mounting Tape.

How to make:

1. Use a compass or any circular object to draw circles with the following diameter. Draw maximum number of circles on every sheet. 

2. Cut the circles out.

3. Start pasting the circles on the lower edge of the base. Make sure that only half of the circle is pasted on   the base. The other half should come over the edge. You can also cut it away.

4. Form a pattern by overlapping the circles as shown:


5. Keep pasting the circles in the pattern until you cover the whole base.

6. Use mounting tape to paste it on the wall.

7. It's done! You can choose your own color scheme as well because this one is girly.

I hope you liked my tutorial. Because I am a new blogger, I posted this tutorial without step by step pictures. After sometime I'll be posting more interesting tutorials with pictures.

Update: This is what it looks like with all the those circles tucked behind.


Stay tuned for more!